
Do you want to make this holiday season the most magical and memorable one for your family? Do you dream of escaping the hustle and bustle of the city and spending some quality time with your loved ones in the serene and scenic Smoky Mountains?
In this blog post, we will share with you nine kid-friendly holiday craft projects that you can do with your family during your stay in the Smoky Mountains. These craft projects are fun, easy, creative, festive, mess-free and they will keep your kids entertained and happy while you enjoy the cozy and warm atmosphere of your Smoky Mountain cabin. Just make sure you have all the necessary components (like a disposable tablecloth to cover your designated arts-and-crafts area with for easy clean-up afterwards) and the creativity flow!
1) Turkey Leaf Placemat

This craft project is perfect for Thanksgiving or any autumn-themed celebration. You will need some colorful leaves, a paper plate, scissors, glue, a disposable tablecloth and a marker.
- Lay out your tablecloth. Cut out the center of the paper plate and glue the leaves around the edge to make the turkey’s feathers.
- Cut out a small circle from the leftover paper plate and draw the turkey’s face on it. Glue it to the center of the leaf circle.
- Use your placemat to decorate your table during your cabin stay! For more details and pictures, you can check out this Turkey Leaf Placemat Tutorial.
2) Paper-Plate Santa Hats
This craft project is a cute and easy way to make your own Santa hats for your cabin or your kids. You will need some paper plates, red paint, cotton balls, glue, scissors and (of course) a disposable tablecloth.
- Lay out your tablecloth. Cut out a triangle from the paper plate and paint it red. Let it dry completely.
- Glue some cotton balls along the bottom edge of the triangle to make the hat’s brim. Glue one cotton ball at the top of the triangle to make the hat’s pom-pom.
- Wear your paper-plate Santa hat or use it as a decoration. You can also write your name or a message on the hat to make it more personal. For more details and pictures, you can check out this Paper-Plate Santa Hats Craft.
3) Twig Ornaments

This craft project is a great way to use the natural materials that you can find in the Smoky Mountains. You will need some twigs, hot glue, paint, glitter, ribbon and a disposable tablecloth.
- Over a disposable tablecloth, break or cut the twigs into small pieces and arrange them into different shapes, such as stars, hearts, or snowflakes. Glue the pieces together and let them dry.
- Paint the twig ornaments with your favorite colors and add some glitter for extra sparkle. You can also use stickers, beads, or pom-poms to decorate them.
- Drill or poke a small hole at the top of each ornament and thread a ribbon through it. Tie a knot at the end of the ribbon and get ready to hang your ornaments! For more details and pictures, you can check out this Twig Ornaments Tutorial.
4) Beaded Candy Canes
This craft project is a sweet and simple way to make your own candy canes for your cabin or your kids. You will need some red and white pipe cleaners, red and white beads, and scissors.
- Twist a red and a white pipe cleaner together to make a striped pattern. Cut the twisted pipe cleaner to the length you want your candy cane to be.
- Thread the red and white beads onto the pipe cleaner, alternating the colors. Leave some space at both ends of the pipe cleaner.
- Bend the pipe cleaner into a candy cane shape and twist the ends to secure the beads. This cute craft makes the perfect ornament or gift for grandma and grandpa back home. For more details and pictures, you can check out this Beaded Candy Canes Tutorial.
5) Salt Dough Ornaments
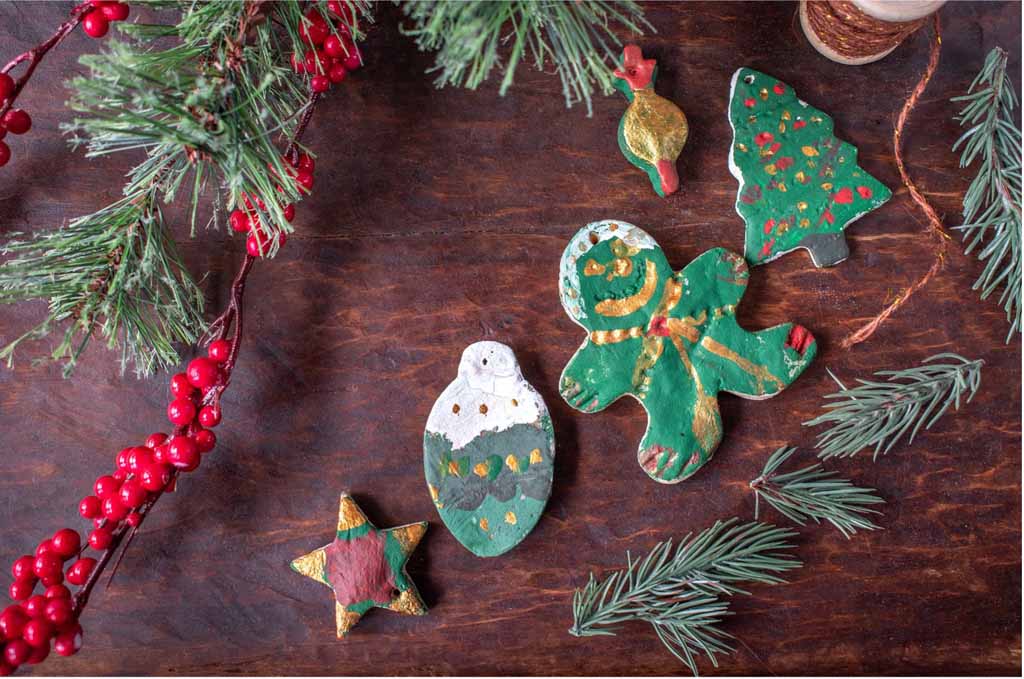
This craft project is a fun and easy way to make your own personalized ornaments for your cabin or your home. You will need some flour, salt, water, cookie cutters, a rolling pin, a baking sheet, a straw, paint, and ribbon.
- Mix the flour, salt, and water in a large bowl to make a smooth dough. Knead the dough for about 10 minutes and then roll it out on a floured surface.
- Use the cookie cutters to cut out different shapes from the dough, such as stars, trees, bells, or angels. Transfer the shapes to the baking sheet and use the straw to make a hole at the top of each one.
- Bake the ornaments in the oven for about an hour or until they are hard and dry. Let them cool completely before painting them with your favorite colors and designs. You can also use glitter, stickers, or markers to decorate them.
- Thread a ribbon through the hole of each ornament and tie a knot at the end for hanging. For more details and pictures, you can check out this Salt Dough Ornaments Recipe.
6) Cotton Ball Snowmen
This craft project is a fun and fluffy way to make your own snowmen for your cabin or your kids. You will need some cotton balls, glue, paper, scissors, markers, and any other accessories you want to use.
- Glue some cotton balls onto a piece of paper to make the snowman’s body. You can use different sizes of cotton balls to make the head, the torso, and the base.
- Cut out some paper shapes to make the snowman’s eyes, nose, mouth, buttons, hat, scarf, and arms. Glue them onto the cotton balls to make the snowman’s face and clothes.
- Use the markers to add some details and colors to the snowman. You can also use other items, such as glitter, stickers, or pom-poms to decorate the snowman. For more details and pictures, you can check out this Cotton Ball Snowman Craft.
7) Paper-Chain Kids Advent Calendar
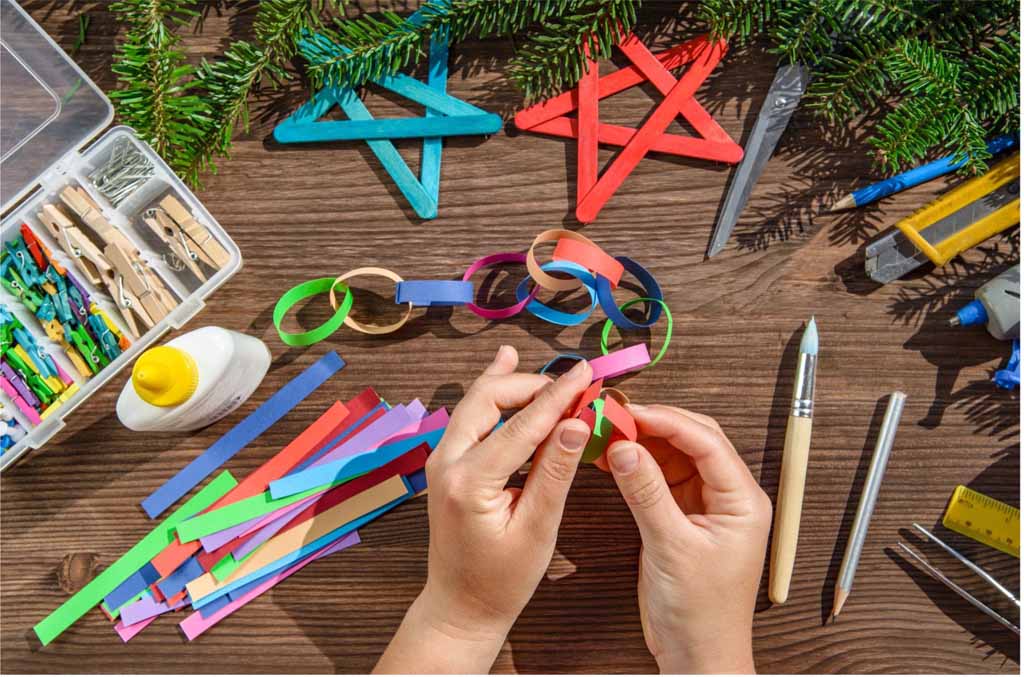
This craft project is a fun and festive way to make your own advent calendar for your kids. You will need some paper, scissors, glue, a marker, and some small treats or toys.
- Cut out 24 strips of paper in different colors and write a number from 1 to 24 on each strip. You can also write a message or a question on each strip, such as “What are you thankful for?” or “What is your favorite holiday song?”
- Glue the ends of each strip together to make a loop. Link the loops together to make a paper chain. Start with the number 24 and end with the number 1.
- Hide a small treat or toy inside each loop or attach it to the loop with a string or tape. Hang your paper-chain advent calendar on your cabin’s wall or door.
- Each day, open the loop with the corresponding number and enjoy the treat or toy. You can also read the message or answer the question on the loop. For more details and pictures, you can check out this Paper-Chain Kids Advent Calendar.
8) Scrap Paper Christmas Trees
This craft project is a creative and eco-friendly way to make your own Christmas trees for your cabin or your kids. You will need some scrap paper, scissors, glue, a pencil, and a cardboard tube.
- Cut out some triangles from the scrap paper in different sizes and colors. You can use any kind of paper, such as wrapping paper, newspaper, magazine, or book pages.
- Glue the triangles onto the cardboard tube, starting from the bottom and overlapping them slightly. Make sure the triangles cover the whole tube and form a tree shape.
- Cut out a star from the scrap paper and glue it to the top of the tube. You can also use other items, such as glitter, stickers, or beads to decorate the tree. For more details and pictures, you can check out this Scrap Paper Christmas Trees Craft.
9) Popup Christmas Cards

This craft project is a cute and easy way to make your own popup Christmas cards for your cabin or your kids. You will need some paper, scissors, glue, a marker, and some stickers or stamps.
- Fold a piece of paper in half and cut out a small slit along the folded edge. The slit should be about an inch long and a quarter inch away from the edge.
- Open the paper and push the slit inward to make a flap. Close the paper and press the flap down. This will be the popup element of your card.
- Cut out another piece of paper in the same size as the first one and glue it to the back of the first one. This will be the cover of your card.
- Decorate the cover and the flap of your card with your favorite Christmas theme, such as a snowman, a reindeer, a Santa, or a tree. You can use the marker, the stickers, or the stamps to make your card more colorful and festive.
- Write a message or a greeting inside your card and fold it. Give your popup Christmas card to your loved ones or display it on your cabin’s fireplace during your stay. For more details and pictures, you can check out this Popup Christmas Cards Tutorial.
Why Choose Parkside Resort?
We hope this blog has sparked your creativity and enthusiasm for holiday craft projects during your stay in the Smoky Mountains. These crafts are not only enjoyable and simple but also add a touch of creativity and festive spirit to your family’s holiday vacation in this picturesque setting.
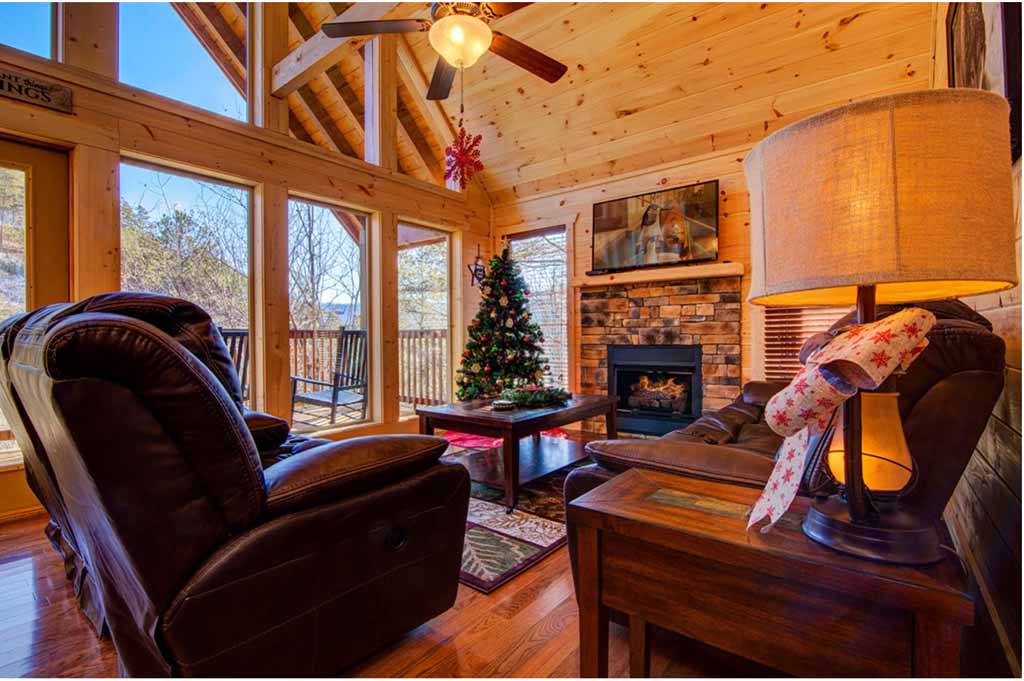
At Parkside Resort, we offer an unparalleled luxury cabin experience in the heart of the Smokies. Whether you seek relaxation in your cabin, exploration of the stunning mountains, or enjoyment of our on-site amenities, we have it all. Choose from our wide range of cabins, from cozy one-bedroom retreats to sprawling twelve-bedroom lodges and indulge in our outstanding services and facilities. But don’t delay – cabins are booking fast, and you wouldn’t want to miss this exceptional opportunity. Reserve your cabin today and prepare for an enchanting and joy-filled holiday vacation with your family in the Smoky Mountains.
Call us today at 888-908-6066 or visit our website to learn more about our amazing accommodations!